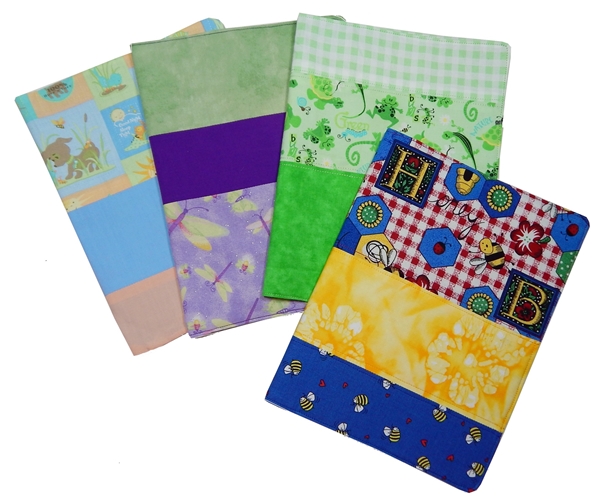
A Buzz About Notebook Covers!
2016 Jun 1st
Earlier this summer I started a new adventure... I became a bee-keeper!In mid-July I drove home from a local apiary (that's a bee yard, or place where someone keeps bees) with a box containing somewhere around 10,000 bees. I will say that I had quite a lot of appreciation for the tape holding that box together as my vivid imagination had no trouble imagining the 45minute journey home if that box should suddenly pop open!
Since then, I have been thoroughly enjoying seeing firsthand many of the fascinating things that I have been reading about in books about bees and beekeeping. I have SO MUCH to learn! This year is all about educating myself, learning to observe the bees doing what they were created to do, and trying as hard as I can to help them get through our long cold Canadian winter.
You are probably wondering by now why on earth I am posting about this on my sewing blog. Well, when you are a creative individual you can turn most anything into an excuse for stretching your craft-making muscles... and beekeeping is no exception! As a brand new beekeeper, and being the somewhat nerdy individual that I am, I've made it a priority to take notes each and every time I open up the hive. I record things like how often and how much sugar syrup I give the bees to help boost their winter honey storage production, when they have a new frame of wax drawn out or filled with nectar or honey or baby bees, and how my queen seems to be doing. All these notes are written down in a notebook... an ugly notebook.
And I don't see why someone who enjoys sewing would put up with an ugly notebook when there is so much pretty fabric around! Especially if that fabric happens to have bees on it.
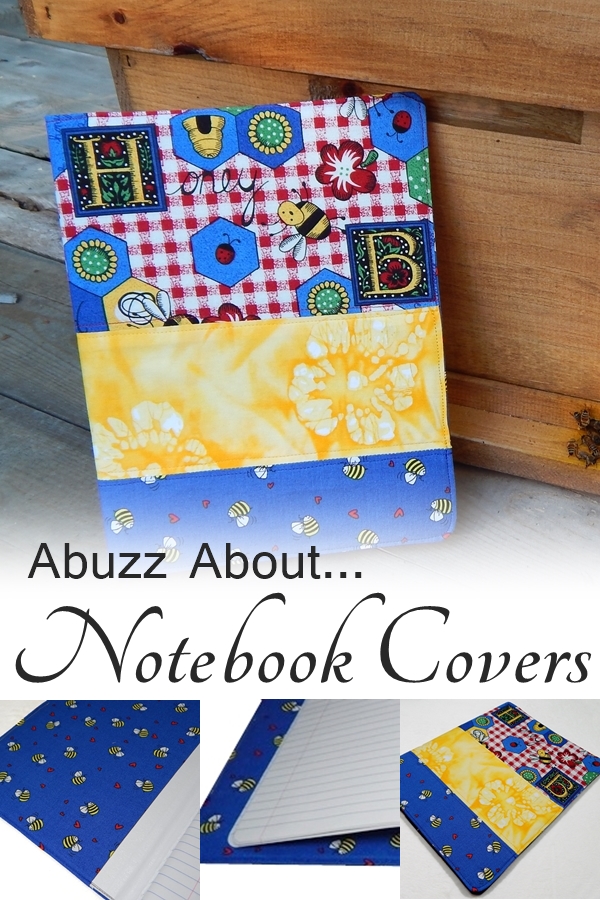
And there you have it... a link between beekeeping and sewing... a Beekeeping Journal that I can smile about every time I see it.
This is a really fun little project. It's fast and a great way to use up scraps and small leftover pieces in your fabric stash. And if you happen to like writing in journals, it's a really satisfying way to dress up an otherwise boring or utilitarian notebook.
For this project, I used a standard 9.75" x 7.5" 100 sheet composition notebook. These are a great size, quite durable, and (especially at back-to-school time) really inexpensive.
Making A Notebook Cover
My plan for this notebook cover was a design without a bunch of fancy features. I wanted plain, simple, and fast... but totally plain was a bit TOO boring, so I decided on a quick bit of patchwork for the outside so that I could use (A) more pieces of scraps, and (B) more color. I LOVE how it comes together!
So are you ready raid your fabric scrap pile and get creative?
~~~~~~
You need six rectangles for this cover.
INSIDE LINING
1 - 10.75"h x 16.25"w (mine is white)
INSIDE COVER SLEEVE POCKETS
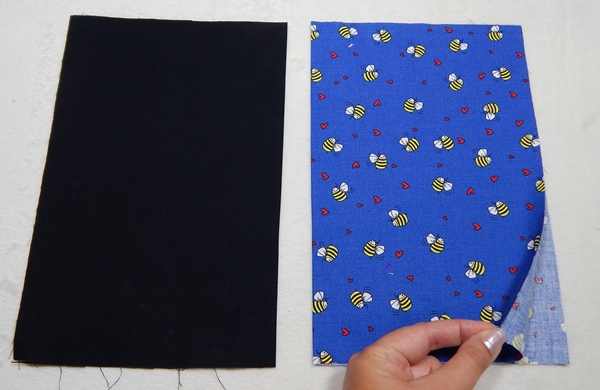
2 - 10.75"h x 14"w (I used the blue bees & black)
FRONT COVER PATCHWORK:
1 - 5.25"h x 16.25"w
1 - 4"h x 16.25"w
1 - 3"h x 16.25"w
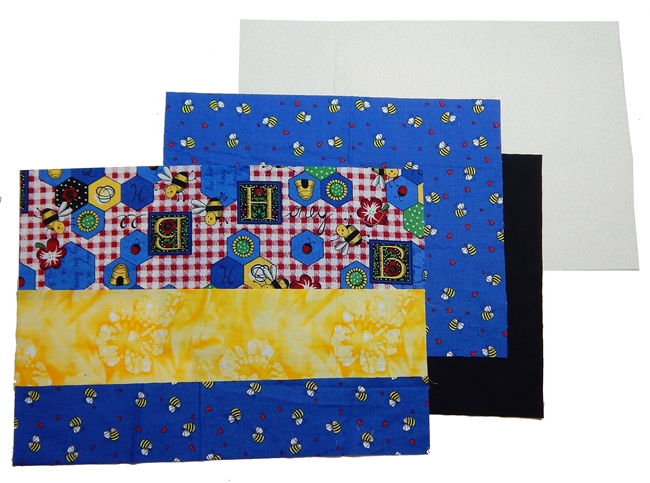
First, decide on the order that you want your patchwork to be. You can put the three strips in any order that you think looks best! Remember if your fabric has a directional print that you have them all the right way up. Also keep in mind that the right side of what you are looking at will be on the front of the notebook (eg. on mine, I wanted to make sure that the word "Honey" was on the front of my cover, not the back).
Step 1 - Place the first patchwork piece right sides together with the next patchwork piece. Stitch together along the long edge with a 3/8" seam allowance. Repeat with the next patchwork piece.
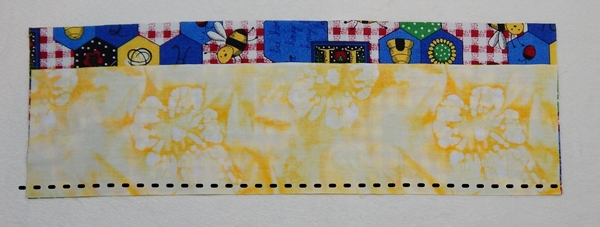
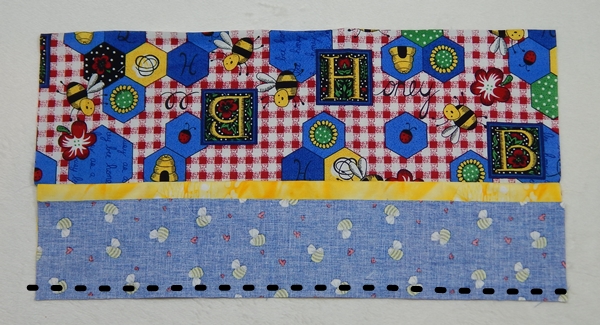
Step 2 - Press open the seams between the pieces.
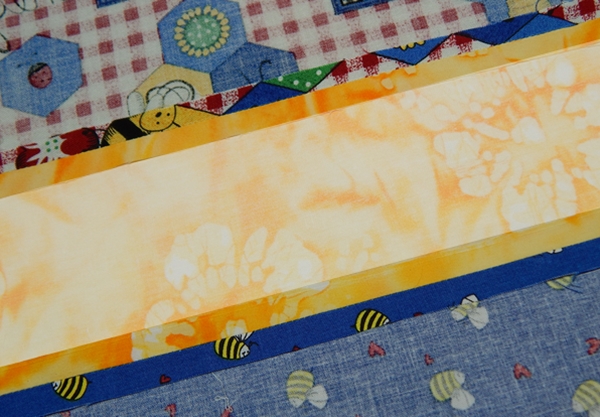
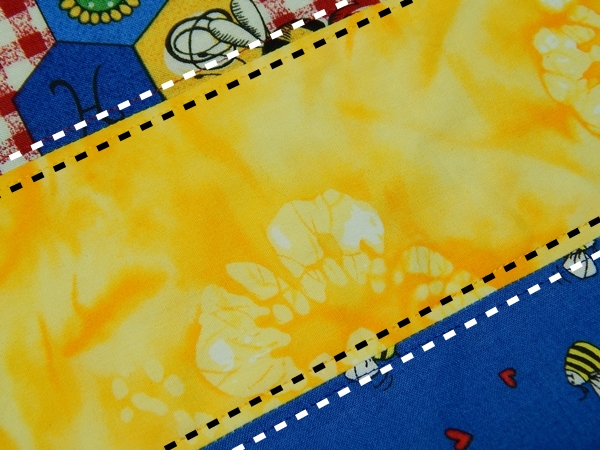
Step 3 - (Optional) Topstitch 1/8" on both sides of the patchwork seams. Of course, use thread that matches your fabric.
This would also be the time to add other embellishments to the front, such as ribbon or buttons.
Step 4 - Fold the width of both inside cover sleeve pockets in half and press firmly.
Step 5 - Place the assembled front cover right side up. Lay the inside cover sleeve pockets on top of the front cover with the folds to the inside and the raw edges all on the outside.

Step 6 - Place the inside lining face down (wrong side up) on top of the cover and sleeve pockets.
I apologize for choosing white as I remembered afterward that it would be hard to photograph, but it was that or something pink and princessy and I just couldn't bring myself to be quite THAT mis-matched!

Step 7 - Lay your open notebook right in the center on top of the cover as a guide, and mark/cut the curves at each corner, keeping an equal amount of fabric all the way around the notebook.
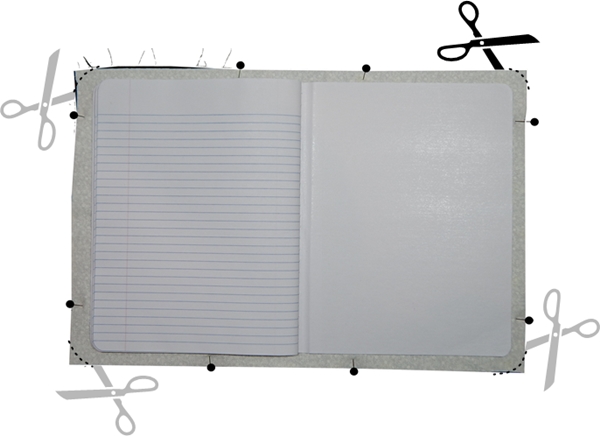
Step 8 - Stitch all the layers together with 3/8" seam allowance, leaving an opening at the center bottom for turning the cover right side out.
I suggest starting to stitch just before the folded edge of one sleeve pocket and stop just after the folded edge of the other.
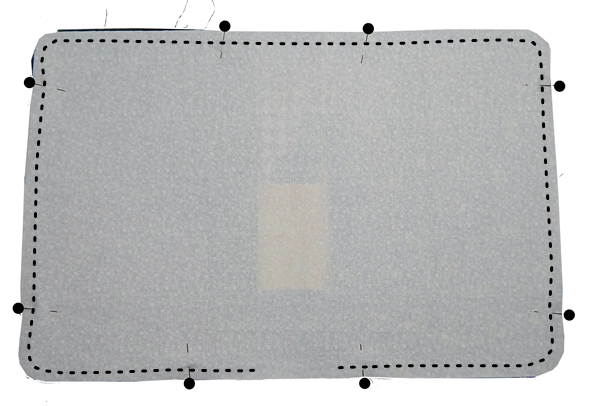
Step 9 - Press up the seam allowance on both sides of the cover (front and lining) wrong sides together in a straight line that follows the stitching at the opening. This is going to help make it easier for stitching this opening closed later on.
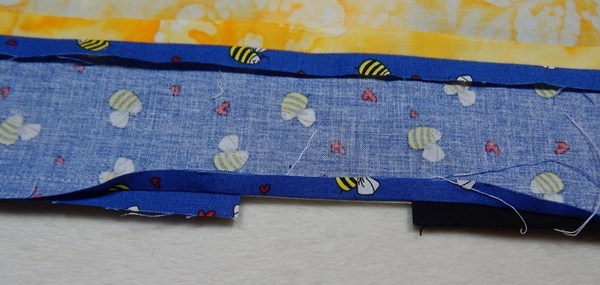
Step 10 - Trim around the outside of your stitching, except at the bottom opening (if you forget and end up trimming all the way around, that's okay... it's just that leaving the seam allowance wide just there at the opening will make it slightly easier to fold the edges inside after turning because you'll have a bit more fabric to work with).
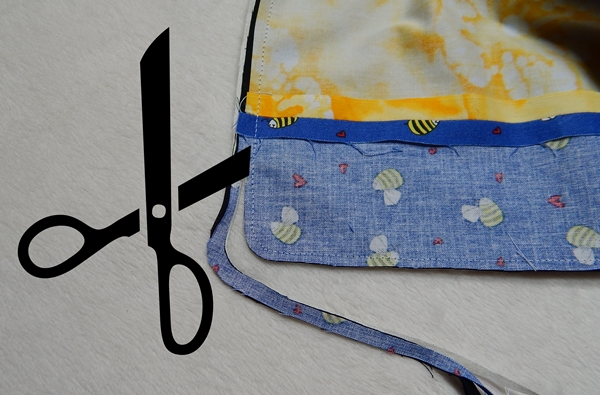
Step 11 - Snip a couple notches out of the fabric at each of the corners to remove some of the bulk and make a tidier corner when turning right side out. Be careful not to cut through your stitching!
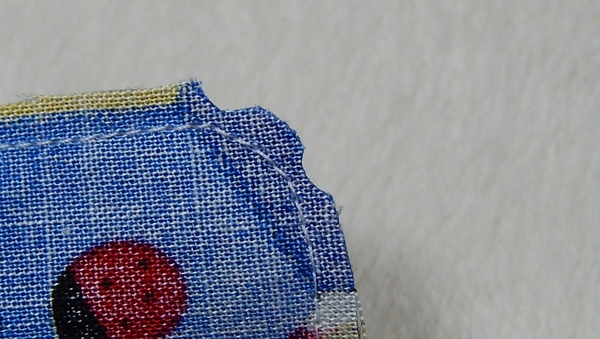
Step 12 - Turn the cover right side out. Use a tool such as a knitting needle or chopstick to push the corners neatly around. PRESS all the way around, paying particular attention to making sure the layers at the opening are right on top of one another and flow smoothy with the rest of the bottom edge.
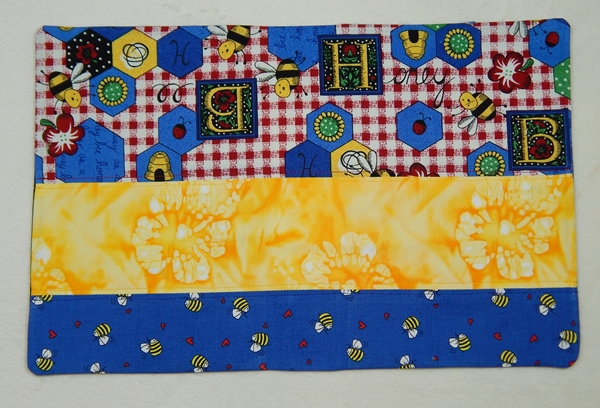

Step 13 - Topstitch 1/8" from the edge all the way around the cover, closing the bottom opening as you do so.
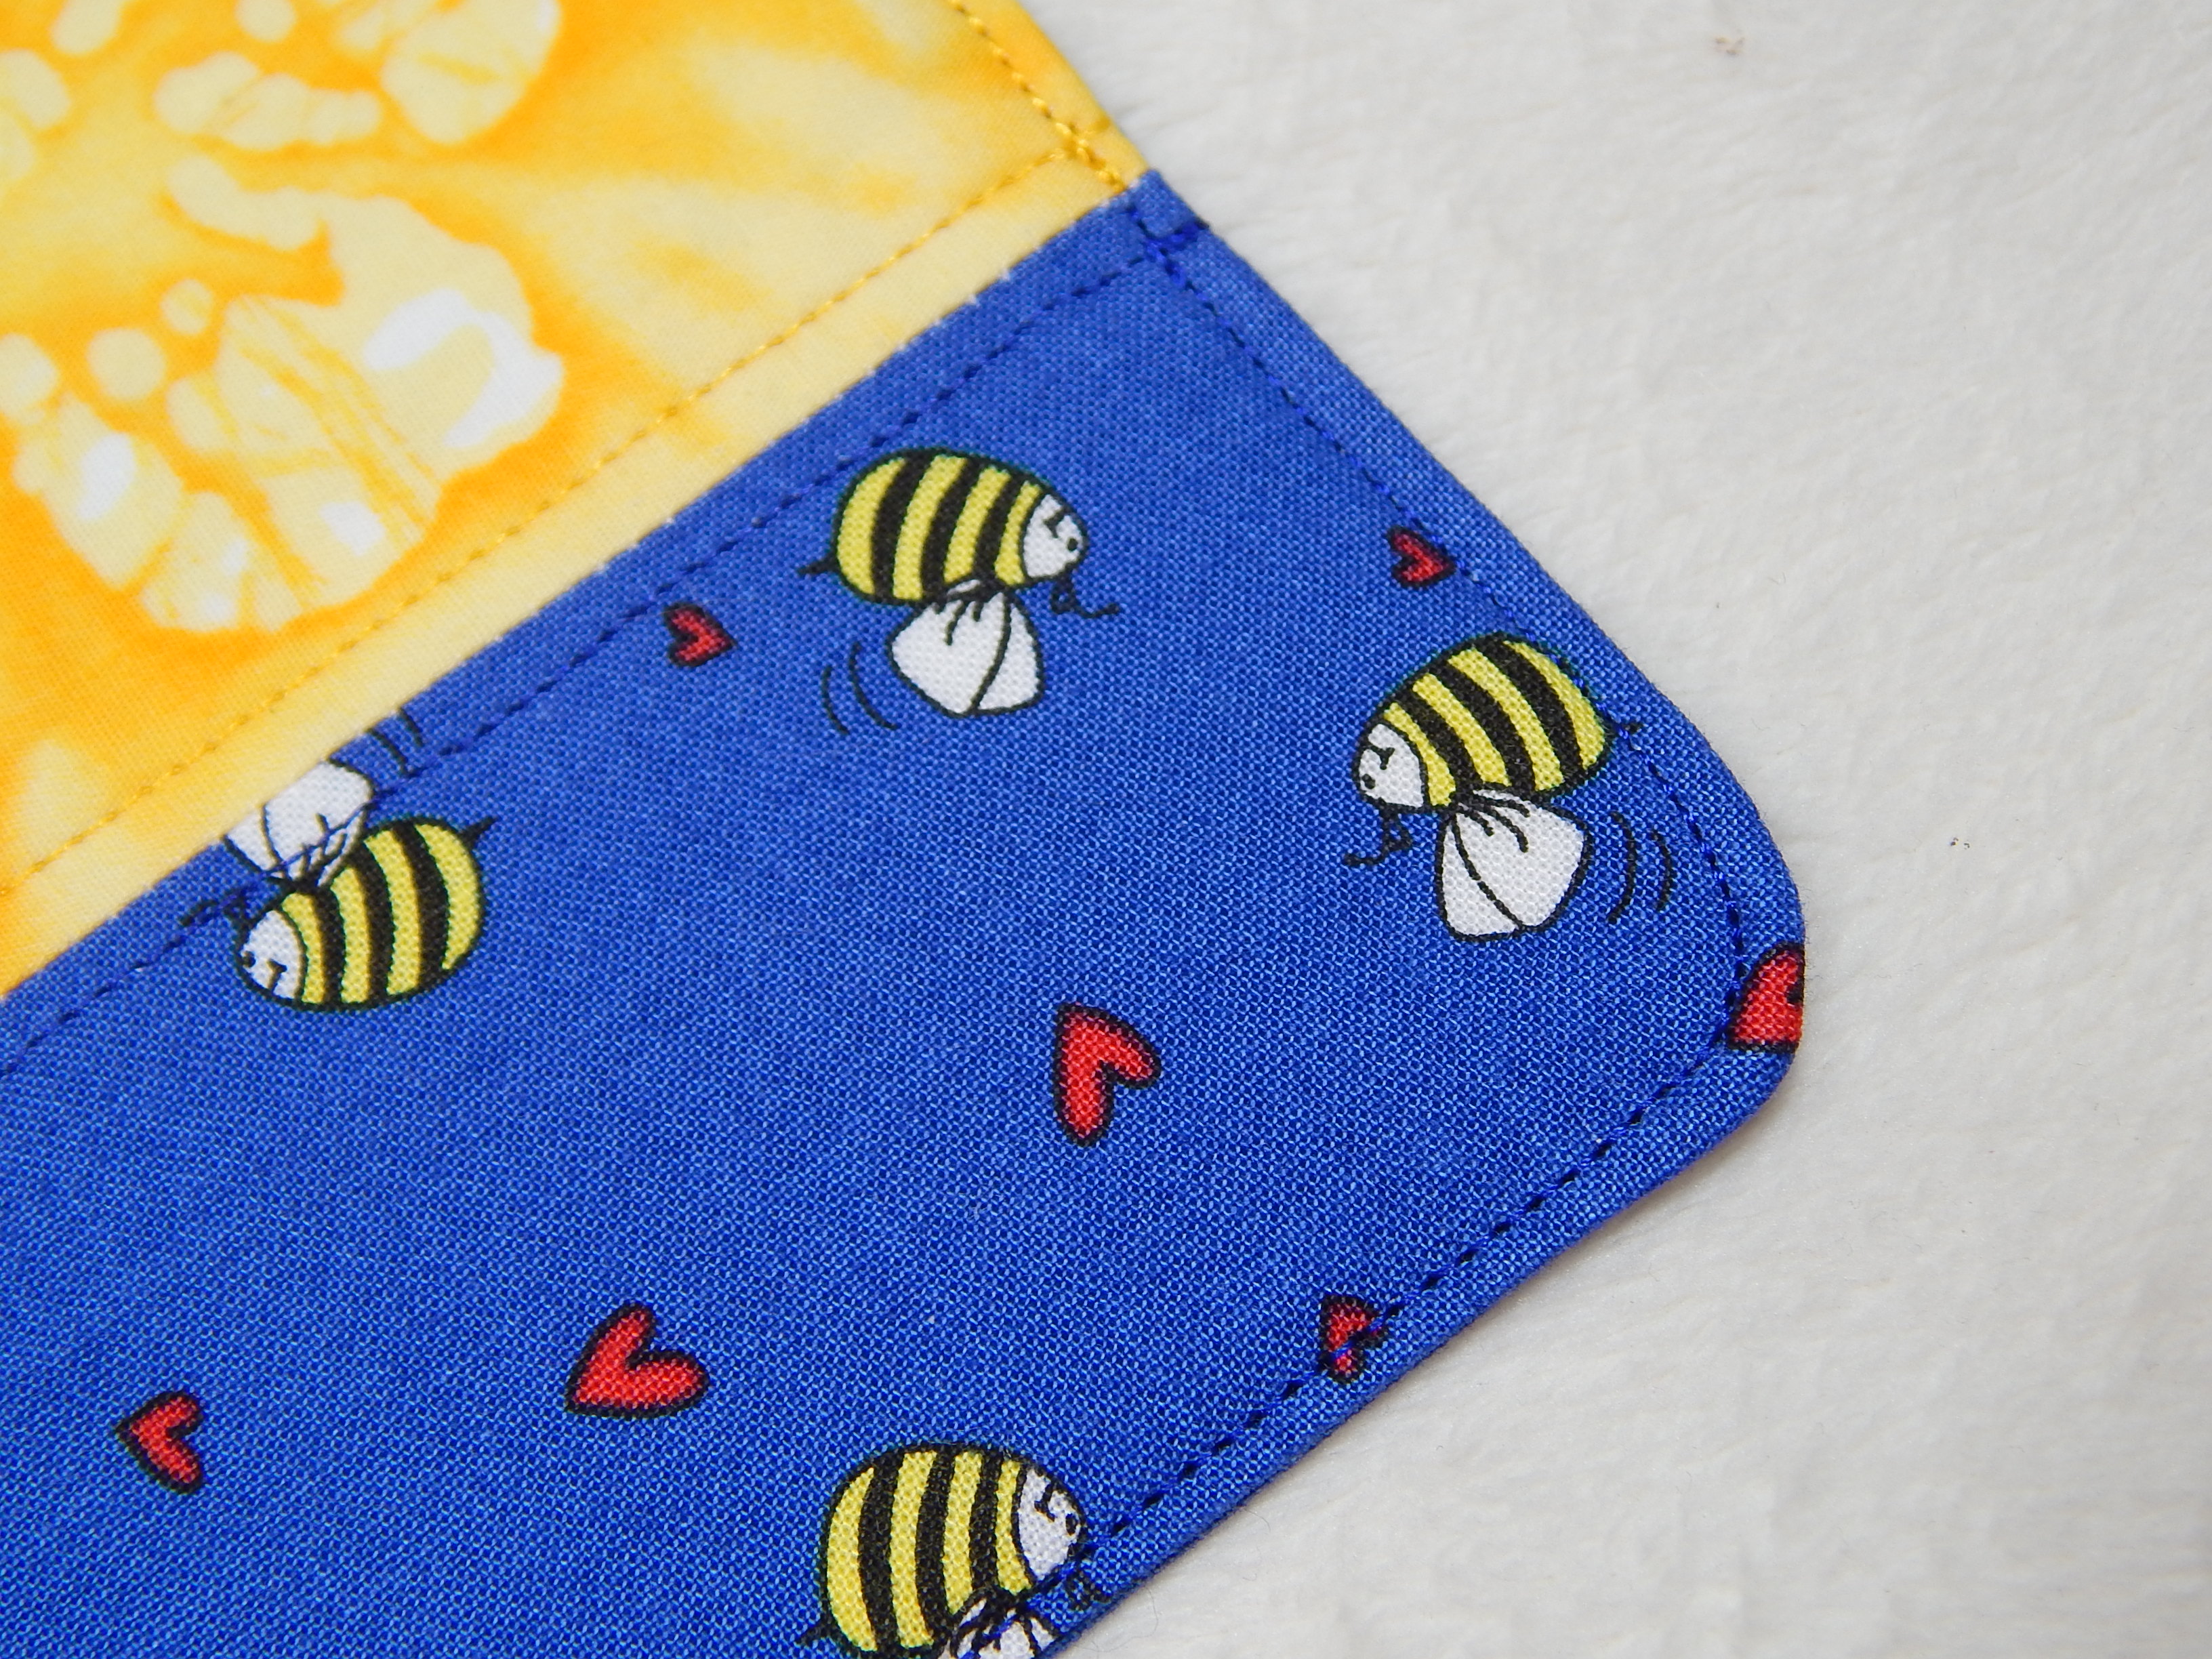
And you're done!
The only thing left to do is put it on the notebook. The easiest way to do that is to fold both the front and back hardboard covers of the composition notebook open, and slide the cover on both sides at the same time.
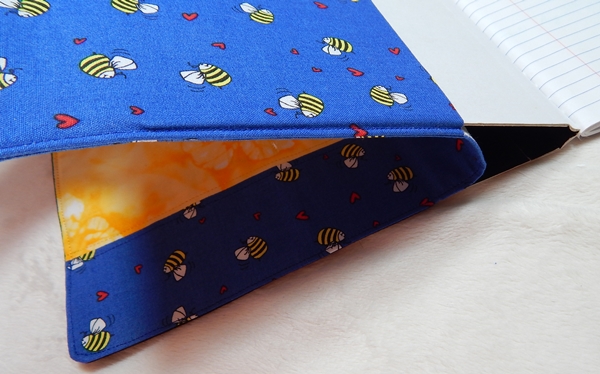
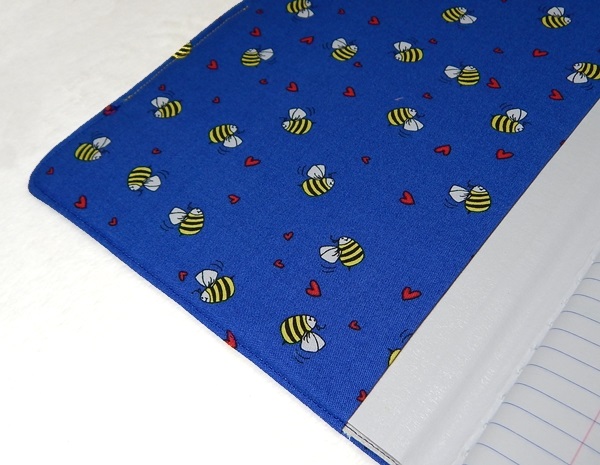
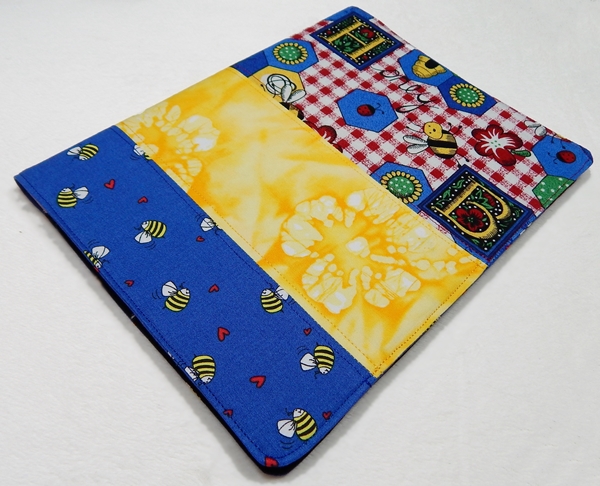

Making notebook covers can be addicting, especially if you are someone that loves writing or keeping journals. They also make really great gifts for teachers or a child that loves to write or draw, and with themed fabrics you can make truly beautiful prayer or travel journals, or a new baby keepsake book.
As for me, now I'm all set for my next bee hive inspection!

