Autumn Fun... No-Sew Fabric Pumpkins
2017 Oct 26th
I have to admit, finding the time to do a project just for fun is a challenge for me. Sometimes I have to find an excuse to make something that has nothing to do with pattern design. Since the spring, I have had the privilege of helping out with an organization called MOPs. It stands for Mothers of Preschoolers (which I no longer am... wow), and is all about giving moms with little ones support and encouragement. One of the things I am in charge of for our local group is coming up with something "hands on" that we can make or do together that the moms can then take home. It's usually something quick and simple, but satisfying in that it allows us to explore a little bit of creativity for ourselves in a day that is generally consumed with diaper changes and the drama of the 4-and-under crowd. This month, I came up with a fun (and FAST) project suitable for this Fall season we are into... and that can also be a neat project to do with older children as well.
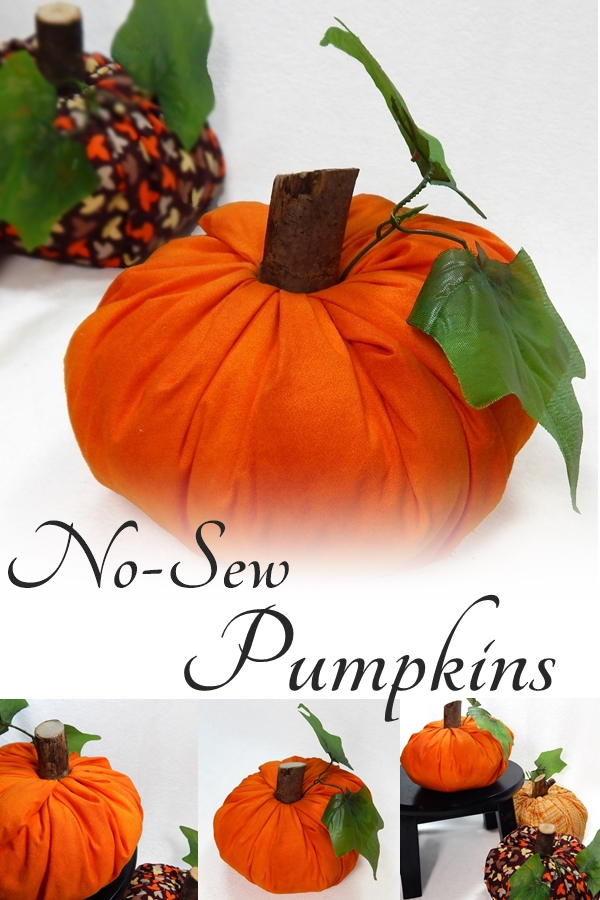
These no-sew pumpkins literally take no more than 5 minutes to make.
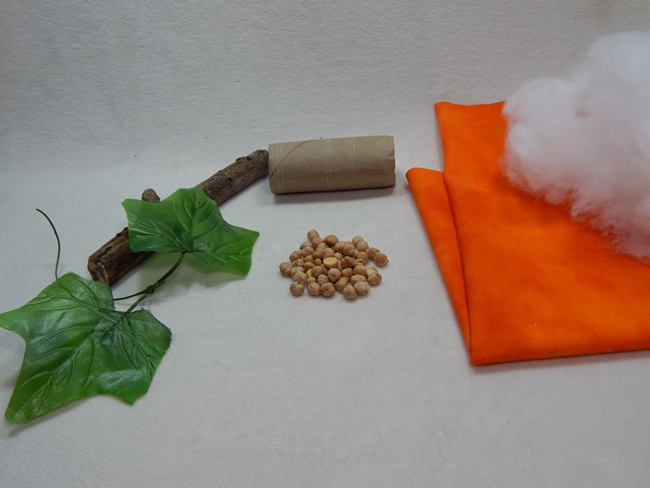
All you need is:
1 square of woven cotton fabric (approx. Fat Quarter)
Stick - should be 5-6" long and about 1" in diameter
1 empty toilet paper roll
polyfil
Handful of dried beans or rice (optional)
Faux foliage for the vine/leaves (optional)
A few tips...
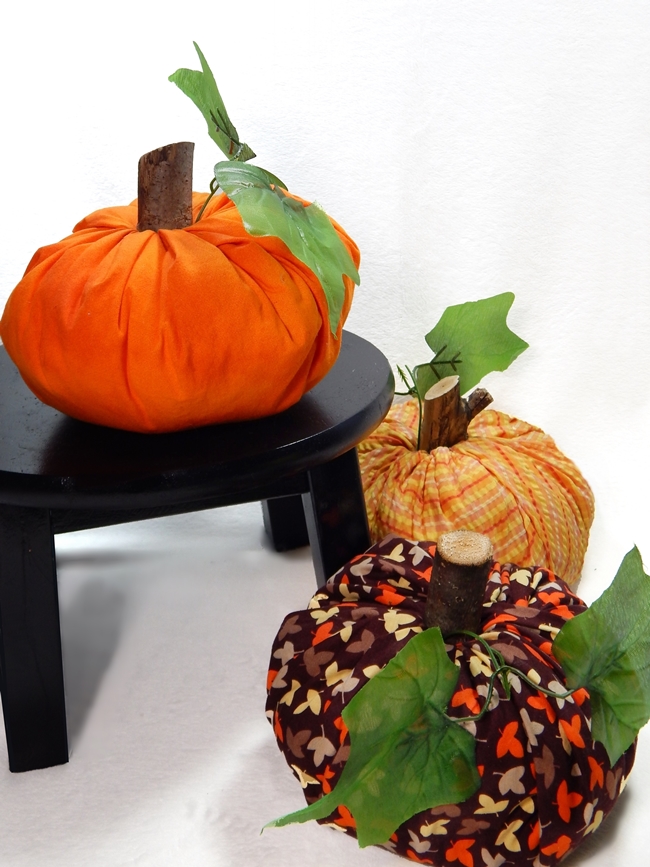
- Don't be afraid to use totally non-pumpkin printed fabric! You can see in the top photo that I also made pumpkins using a lovely brown with leaf print, and a striped print. I also had some orange chevron... but that one was picked right away by the other moms so I don't have any to show you. Suffice to say, it was a popular choice and for good reason! So consider making your pumpkin with polka-dot fabric, or how about a damask or swirl print. The only thing I would avoid is a directional print.
- If you cut a dried stick from outside (rather than a fresh one), use a wire brush or scraper to get as much of the dried bark and dirt off as you can.
- You can skip the foliage if you would rather just a plain pumpkin. Otherwise, look for a vine at your local craft store that has the palmate shaped leaves like you see above. You can then cut apart the vine, leaving a long tail on each section, which gives you lots of leaves to make lots of pumpkins!
- The dried beans are just to add a bit of weight. If you are concerned about having small pieces in your pumpkin in the event that you have little kids in your home that may decide to take your pumpkin apart (it's easy to reassemble... but you know how some kids are!), then you don't NEED these. Feel free to leave them out if you don't want to risk it.
On to the assembly...

First, lay your square of fabric right side down. In the center, place a handful of dried beans (optional).
Second, stand the toilet paper roll up in the center of the beans. The beans don't all need to be inside or outside.
Third, take a bunch of polyfil and surround the toilet paper roll.

Next, starting with one corner and working your way around in a spiral, stuff the edges of your fabric inside the toilet paper roll.
(It is important to work in a spiral rather than doing all four corners first. Stuffing just a small section at a time makes it easier to keep the shape even as you move around your stuffing. If you find you have too much or not enough polyfil, you can add or remove some at any point. It may take a couple times to get the hang of this... but just use your hands to support things as you go and it's easy to pull it out and start again!).

Once you have all the edges of fabric tucked inside the center, you can manipulate the polyfil inside to make it as even and round as possible.
Then, take your foliage (optional) and place the end of the stem inside the center of the roll.
Finally, push the stick right down the center, securing everything in place.
TA-DAH!
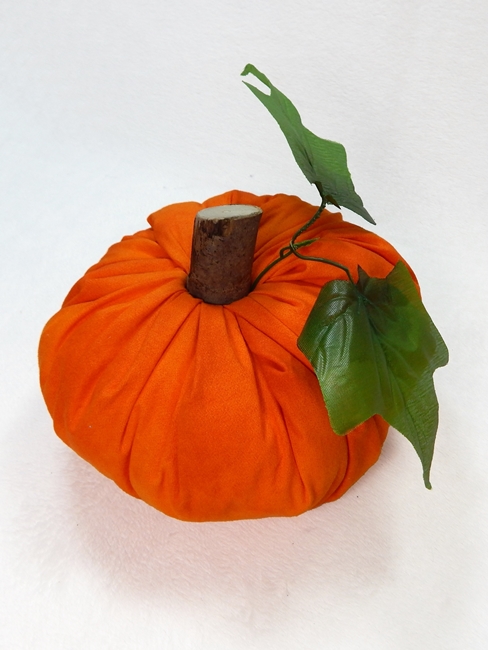
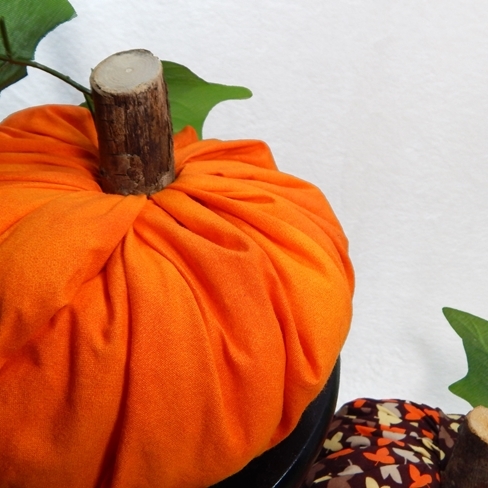
So there you have it... a fun and fast project to add a little seasonal charm to your home this Fall.


